In domestic and industrial poultry farming, the quality of the incubation material used is of great importance. To be able to control the state of the egg at all stages of incubation, you should purchase a professional one or make a simple do-it-yourself ovoscope. Which is not so difficult, despite the tricky name.
What is an ovoscope - design features and purpose
The eggs of any bird, despite having a hard shell, are not completely opaque. If you look through it at the light of an ordinary lamp, you can see the outlines of the yolk, protein, air chamber. But due to the scattering of the light flux, it is difficult to judge the quality of the eggs from the received visual information. It is in this that one should look for the answer to the question - why do we need an ovoscope?
At its core, an ovoscope is the simplest device that allows you to reduce the scattering of the light flux coming from ordinary light sources and direct it directly through the egg under study. Due to this, it is possible to consider all the features of the internal structure of the incubation material, to determine the suitability for hatching chicks. With the help of an ovoscope, the quality of the material is checked before being placed in the incubator, as well as the correct development of the bird embryo at subsequent stages.
In private farms, in which usually no more than 100 chickens are hatched per incubation , the simplest devices are usually used to check eggs, which allow for sequential (one by one) control of the entire pledged batch. In just 5 minutes, the quality of the entire set and measures can be taken to replace unsuitable eggs for incubation .
On an industrial scale, more advanced devices are used that allow you to simultaneously examine several tens and even hundreds of eggs. At the same time, the principle of operation of the ovoscope remains the same - the transillumination of the incubation material with a powerful light flux.
How to make an ovoscope with your own hands
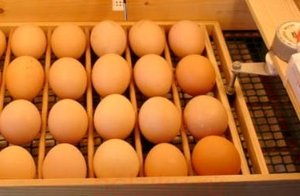
At its core, such a device is an ordinary tube or box, inside of which a lighting lamp is placed. The egg is placed on a special gasket with a cutout, the size of which is slightly smaller than the diameter of the egg. For the incubation material of various birds, it is recommended to prepare such pads with cutouts corresponding to the average size of eggs (for chickens, geese , ducks, turkeys , quails ).
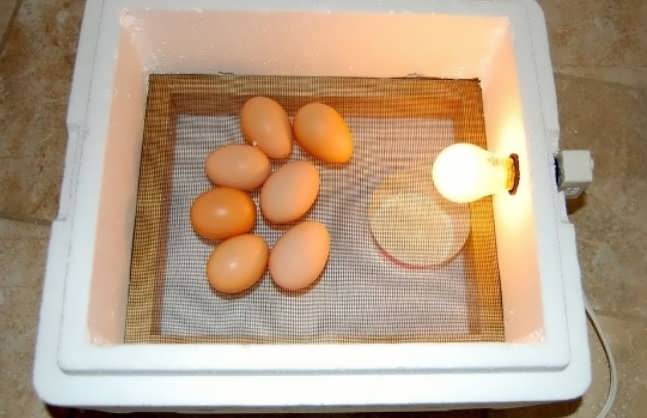
A light source is placed at the bottom of the box or tube, which can be an ordinary tall tin can or a cylindrical package of chips. A cut-out gasket is placed at the top. For ease of use, a conventional switch from a table lamp is mounted in an electrical circuit.
Now, to lighten the eggs, simply place them one at a time in the recess and press the switch button. Please note that the examination should be carried out in a dark room, so the result will be better visible.
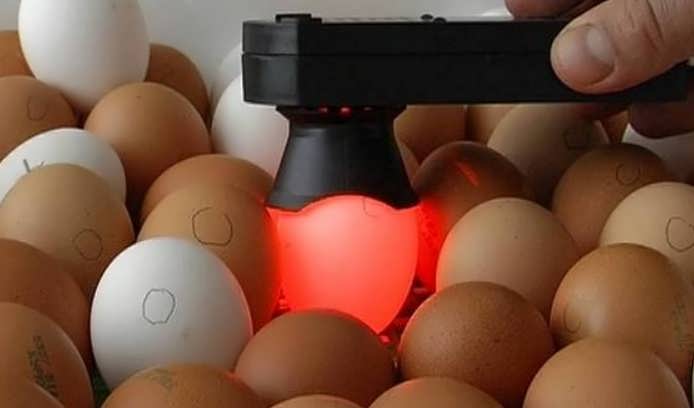
Therefore, knowing the principle of how an ovoscope works, it becomes quite understandable to equip such devices with more modern light sources. An energy-saving LED lamp will help get rid of excessive heat. In addition, this approach will allow you to independently assemble a hand-held device that runs on conventional batteries and does not require an electrical connection. This option is most convenient when checking eggs laid in an incubator.
How to check eggs with an ovoscope
Now a few words about how to use the ovoscope. Quality control of the incubation material must be carried out not only before laying, but also at subsequent stages of the process. Thanks to this, you will be able to cull and replace the unusable Egg in a timely manner, which can significantly increase the percentage of hatchability of the bird.
The following technology for checking eggs with an ovoscope is recommended:
- Before laying - there should be no cracks and growths on the shell. The yolk, protein and air chamber should be clearly separated. It is not allowed to have dark spots in any areas, sticking of the yolk and protein to the shell. The air chamber should be at the bottom of the egg.
- 5 days after laying, the formation of blood vessels and the primary formation of the embryo become visible. If at this stage no changes in condition compared to the time of laying are detected, the egg is considered infertile and is subject to culling.
- On the 10-11th day, you can already notice the stirring of the embryo, the growth of the vascular network is clearly visible. The air chamber increases in volume by 2-3 times. If there is no change, discard the egg again.
- On the 19-20th day, the formed chick is clearly visible. It occupies the entire upper part of the egg, the air chamber increases to a third of the volume and is located on the side of the blunt end. All this indicates that the chick is ready for hatching and its development took place according to the norms.
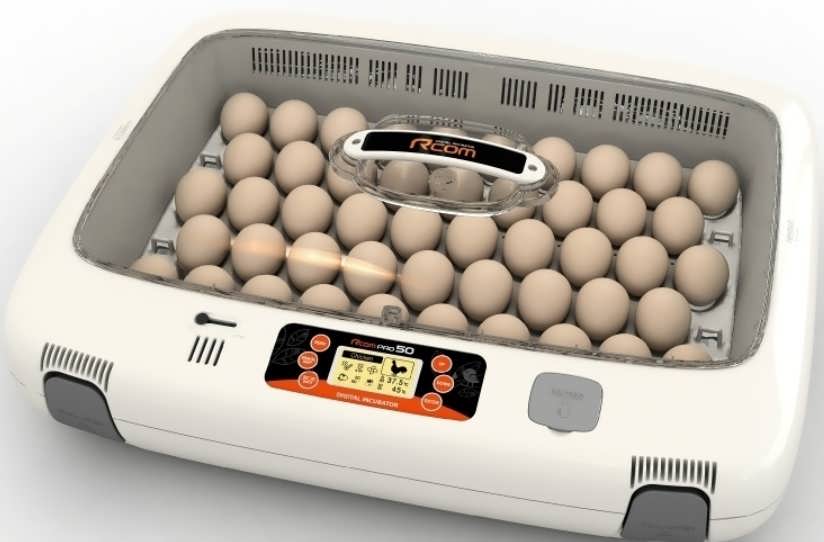
If you plan to seriously engage in poultry farming, then be sure to make at least the simplest ovoscope. Better yet, get even an inexpensive factory model with an LED light source. Devices of this class have proven their effectiveness and information content. The use of such ovoscopes will significantly increase the percentage of hatchability due to the timely culling and replacement of eggs.
I also open my incubator and want to make this device with my own hands. I don't see anything complicated. I will try.
Thanks for the instructions provided. It turned out to assemble the device the first time and now I use it when growing chickens.