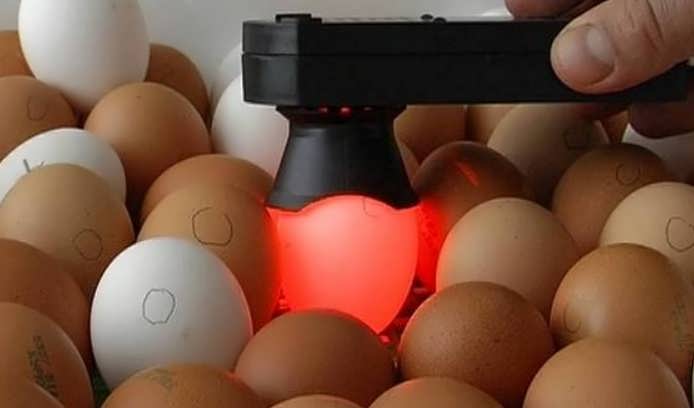
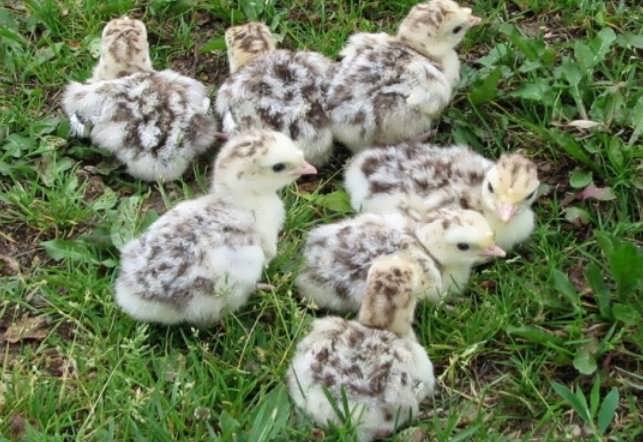
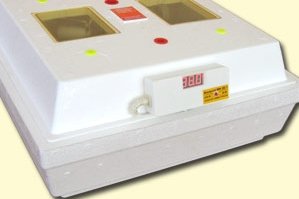
Incubation is a practical and simple method of breeding birds. Any poultry farmer knows that in order to successfully incubate eggs, you need to maintain a stable temperature and humidity. This is where the automatic thermostat comes in handy. It heats the elements so that the temperature in the incubator does not change, even if it changes dramatically outside.
The number of hatched birds, their health and life depends on how accurate and reliable the device is. But it is not necessary to buy expensive thermostats in stores. Having the necessary details, skills and knowledge in electrics, you can make a temperature controller with your own hands. Such a device will be no worse than purchased.
How to make a simple thermostat for an incubator
There are two ways to make a homemade device: using an electronic circuit and based on a heating device.
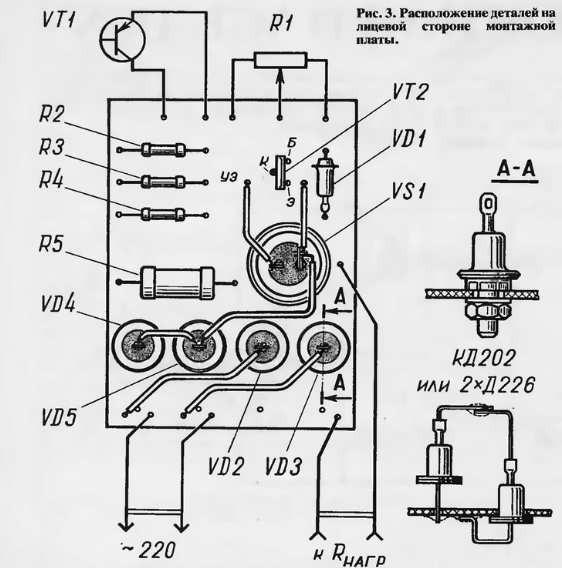
The main thing you need to make a thermostat at home is a diagram. It will indicate the parameters of capacitors and resistors. Additional parts can be purchased at any electronics store. For the reliability of the scheme, it is important to consider several nuances:
- a resistor is used to reduce, stabilize and filter the voltage, not a capacitor. This will increase the life of the regulator to 10 years or more;
- do not parallel the lamps. It will be more reliable - in series-parallel. This will eliminate the possibility of sagging and burnout of the lamp filaments;
- do not install a thermistor whose resistance is less than 1 kΩ. This can degrade the operation of the circuit and reduce the stability of the thermostat;
- it is more reliable to use the K561LA7 chip than an op-amp or PIC;
- a sensor in which there is a single-wire digital interface is applied to the microcontroller;
- if you need an instant reaction of the circuit to a change in temperature, it is worth using a thermistor with a non-metallic case. If an instant reaction is not needed, it can be used with a metal case;
- use of thermistors with negative and positive temperature coefficient of resistance is allowed.
Based heating device
do-it-yourself thermostat for based on a heating device is an effective method, but the disadvantage is that the sensitivity must be adjusted manually. The principle of operation is this:
- Dismantle the old heating device, for example, an iron. Take out the thermostat.
- Solder or wet in the center so that the thermostat becomes inoperative.
- Pour ether into the thermostat. With any change in temperature (even a fraction of a degree), the container will narrow or expand. When the temperature rises, the plates will open (the air does not heat up), and when the temperature drops, they will close (the air heats up).
- Solder the thermostat.
- Attach it to the instrument with the plate screws.
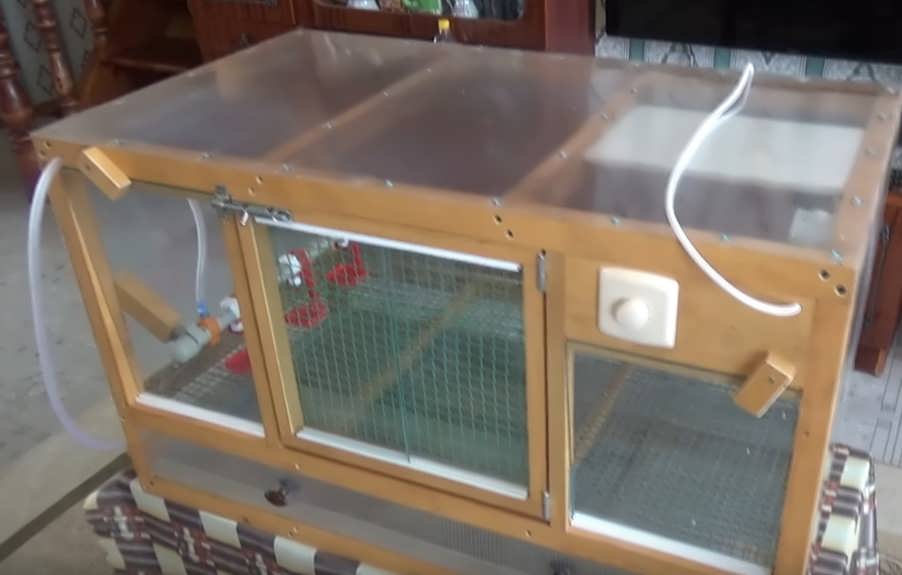
Connecting to an incubator
For the correct and safe operation of the thermostat, it must be configured and installed:
- Place the contacts at a distance at which the sensitivity readings would be most accurate.
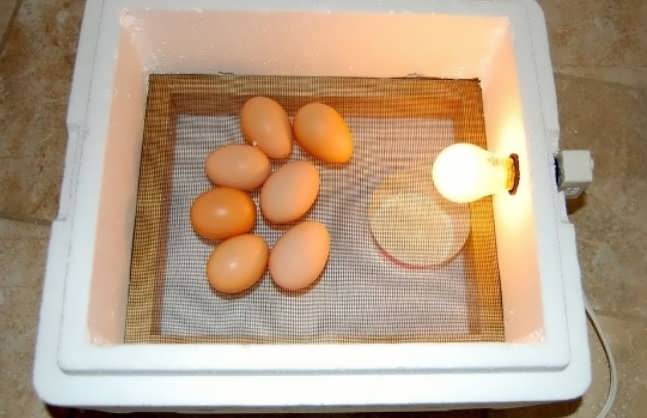
- The thermostat is displayed outside the incubator.
- The temperature sensor is left inside and is located at a level slightly above the eggs. It is necessary to eliminate the influence of heating elements, lamp and fan on the sensor.
- A thermometer is installed next to the temperature sensor.
- The heating elements are located at least 5 cm above the sensor.
- The fan must be installed before and after the heating device.
The thermostat will be a reliable device if the connections are carefully soldered and the terminals are tightly tightened.
In general, it’s great that you can make a thermostat for an incubator with your own hands and for this you don’t need to buy anything extra expensive and everything can be at hand. Of course, I will try to make it with my own hands, otherwise there is no money to buy at all. I really hope that my expectations will come true and everything will work out for me.
The thermostat for the incubator was made by my husband and he did it with ease. All thanks to your instructions.