The incubation period for each type of poultry proceeds differently, it is especially different for land and waterfowl. The eggs of the latter are larger and contain much more fat.
By the way, you can read about how the incubation of indoutok eggs is performed correctly here: https://4541080.ru/vyvedenie/vyvedenie-indoutok-v-inkubatore.html
Therefore, breeding ducklings in an incubator at home has its own characteristics and is fundamentally different from a similar process, for example, in laying hens.
The main difference is the duration (26-28 days for duck eggs). No less important is the temperature regime. There are other nuances, which will be discussed later in this article. We will consider the correct technology for hatching ducks in an incubator at home.
Proper selection and storage of duck eggs for incubation
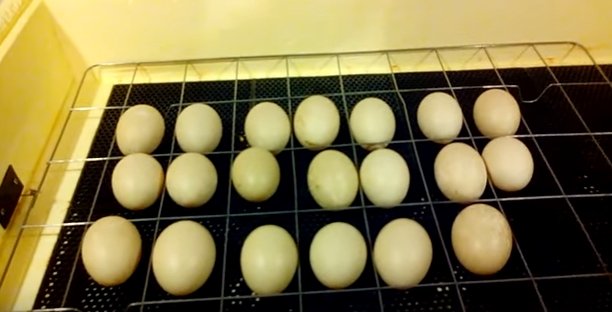
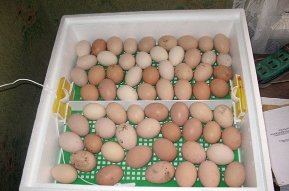
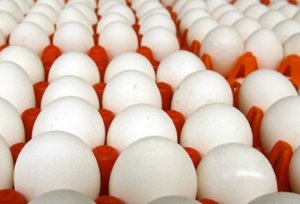
Before you start hatching , you need to learn how to collect incubation material. The weight of a duck egg should be an average of 80 grams. It should have the correct shape, strong shell, without cracks and damage. Eggs with a lime coating are rejected, as well as with two yolks. If the egg is dirty, then it can be gently wiped with a soft cloth and a manganese solution.
Freshness plays a decisive role. The material should be stored no more than 5 days before laying at a temperature of 8 to 13 degrees. In addition, each egg must be turned 3-4 times a day.
However, Muscovy duck eggs can be stored for up to 15 days in an incubator
We recommend an article on proper ventilation and humidity in the incubator , as well as a separate material on laying and storing hatching eggs: https://4541080.ru/vyvedenie/khranenie-i-zakladka-yaic.html . And here is an article about turning eggs in an incubator.
phased withdrawal
The first stage is 7 days after laying. During this period, the internal organs appear in the embryo, and one of the most important conditions is to ensure the proper temperature regime.
The average temperature in the incubator at the first stage should be 38-38.2 degrees, humidity - 70%.
The second stage - from 8 days after laying. During this period, the skeleton is formed in the embryo. At this stage, it is necessary to ensure good air exchange and reduce the temperature to 37.8 degrees.
Starting from the 15th day, heat transfer in the egg increases, the temperature in it can rise to 42 degrees. Humidity in the incubator at this stage should be 60%, temperature - 37.8 degrees.
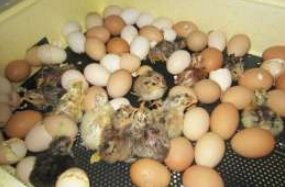
The fourth stage is the actual hatching of the chicks. It should be noted that it is difficult for newborn ducklings to get out of the egg, as it has a very hard shell. They can be helped by increasing the humidity and ventilation in the incubator, as a result the shell will become softer.
Duck egg incubation table
The following table will help you get more accurate data on the correct hatching of ducklings in the incubator:
| Stages | Terms (days) | Humidity (%) | Temperature (°C) | Cooling | Turn (once a day) |
| 1 | 1-7 | 70 | 38,0-38,2 | No | 4 |
| 2 | 8-14 | 60 | 37,8 | No | 4-6 |
| 3 | 15-25 | 60 | 37,8 | Once a day (15-20 min) | 4-6 |
| 4 | 26-28 | 85-90 | 37,5 | No | No |
Video: breeding ducklings in an incubator
We recommend useful material on the topic: How to grow and feed mulard ducks
Compliance with the incubation mode presented in the table above will ensure the maximum percentage of ducklings hatched in the incubator. No less important is the process of selecting incubation material. With successful breeding, you will get active, healthy, fluffy birds, ready for further growth and development.


Thanks for the helpful table. I began to be interested in breeding poultry in an incubator, by the spring I plan to breed ducklings
Thank you, painted from A to Z, short and clear
My incubation of duck eggs went well the first time and now I can breed ducks without any problems.