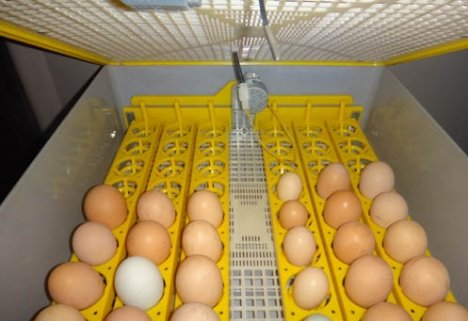
By purchasing an incubator, or even using a hen, eggs should be oscopied. In the case when there are few eggs and they are not valuable, you can let things take their course, surrender to the hands of nature. If you approach the matter responsibly, you can not do without translucence.
In amateur poultry farming, when chickens are hatched in spring and early summer, in small numbers, it is quite possible to use a small, inexpensive ovoscope or make it yourself.
- Purpose of viewing
- Do-it-yourself ovoscope
- Video: how to quickly and easily make an ovoscope with your own hands
- Inspection before incubation
- Candling during the incubation period
- Candling chicken eggs by day
- Inspection of goose eggs by day
- Inspection of duck eggs by day
- View of quail eggs
- Candling turkey eggs by day
- Candling of eggs of an indochka
- Candling a broiler egg
Purpose of viewing
What is egg candling? This is nothing more than the intention to consider the processes that take place in the egg until the moment the chick is received.
However, one should not try to see everything with meticulousness. At home, this is impossible to do, and it makes no sense. The main thing to see:
- egg defects, in which incubation will be meaningless (they are detected before the eggs are laid for heating);
- unfertilized (empty) eggs in order to remove them from the incubator in advance and know the approximate yield of chicks.
Do-it-yourself ovoscope
A device that will allow a stream of light to pass through the egg can be built from improvised materials.
To check the eggs you will need:
- light bulb (100 W);
- lamp;
- adapted carton with a hole for an egg. It can be a cardboard, metal can or plastic container;
- dark room.
It is very easy to use an old lamp-lamp for one light bulb. In this case, the lampshade or ceiling is removed, and a box is put (put on) instead.
The box can be made of thick cardboard or use a ready-made one that is suitable in size. She should freely dress on a lamp with a light bulb. The purpose of such a structure will be to collect all the light in a beam and direct it to one point, to the egg.
In the upper part of the box, a hole is cut out the size of an average egg (depending on whose eggs will be candled). If the procedure is carried out for the first time, it becomes interesting and incomprehensible how to use the ovoscope, but after the first incubation, the process seems simple and untiring.
Checking eggs on an ovoscope is carried out in the following order:
- The device is installed in a dark room (you can use the room in the dark);
- Connected to electricity;
- Containers for sorting are placed nearby;
- An egg is laid on the hole;
- It is translucent by turning by hand by 90-180 ᵒ;
- Sorted and discarded.
Video: how to quickly and easily make an ovoscope with your own hands
https://youtu.be/zdQ37piugCs
Inspection before incubation
Checking eggs with an ovoscope is carried out even before the moment when the incubator is turned on. With this view, you can identify:
- shell cracks. Getting into the incubator, such an egg gives "shrinkage". This is the name of those eggs that quickly lose their weight and the embryo dies;
- egg marbling. The heterogeneity of the shell structure will be manifested by punctate marbling. This indicator is very important for the poultry farmer. With it, you can determine the health status of the breeding stock. If the percentage of marble eggs is high, then the diet lacks vitamin B2 and D3, as well as trace elements.
No matter how experts try to describe something else that can supposedly be seen, it is useless. Understanding how an ovoscope works for checking eggs, it becomes clear that absolutely everything cannot be considered. In addition, it is very easy to make a mistake and reject perfectly normal eggs. Therefore, culling should not be rushed, especially during the incubation period.
At home, with the help of a household ovoscope, identifying the listed defects is quite enough.
Marble eggs rejected after viewing and cracked can be used for food purposes.
Candling during the incubation period
Experience cannot be subtracted from literature. It has been acquired over the years. Therefore, when candling, it is advisable to mark the eggs. To do this, it is enough to get a simple pencil and write notes directly on the shell. In this case, all abbreviations (x, o, c) should be written in a notebook so that after the end it is easy to reproduce the picture according to the results.
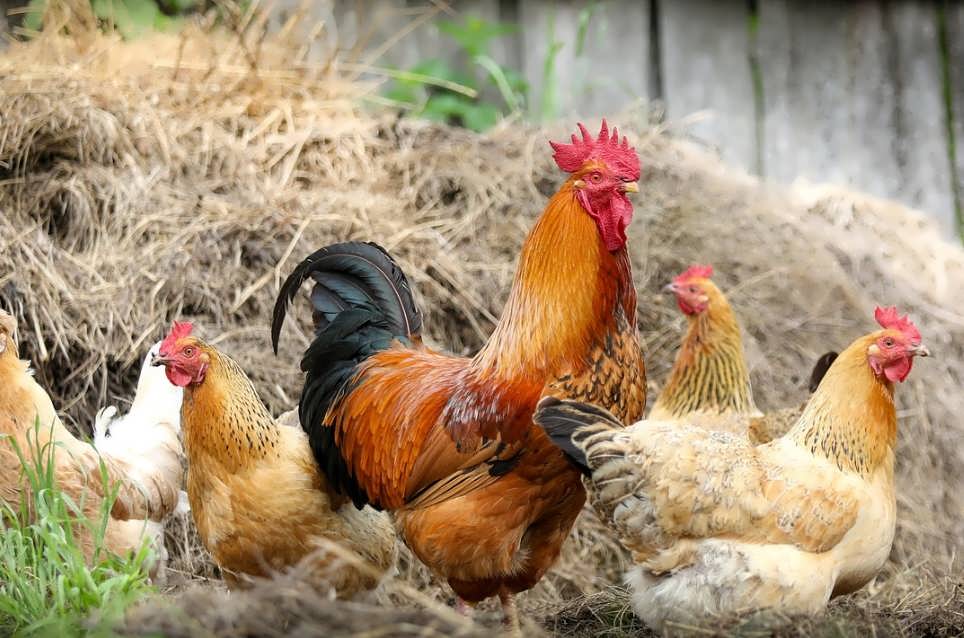
If you are not sure about the incubation modes (temperature, humidity, air movement), then believe me, the hen does not stand over the eggs with measuring instruments. As experience shows (with an increase in the number of bookmarks in the incubator, the poultry farmer is convinced of this himself), the main thing is the quality of the hatching egg. If the rooster is bad, the ideal incubation regime will not help to increase the hatchability.
Candling chicken eggs by day
If the number of incubated eggs is small, then all are inspected. In the conditions of poultry farms, this is done selectively, so it becomes clear that no one will perform such a procedure every day.
There are critical dates, and it is on them that the candling takes place:
- The first candling is carried out on the fourth day. It is carried out if, before incubation, the event was skipped before laying. Having identified the defects, the eggs are disposed of;
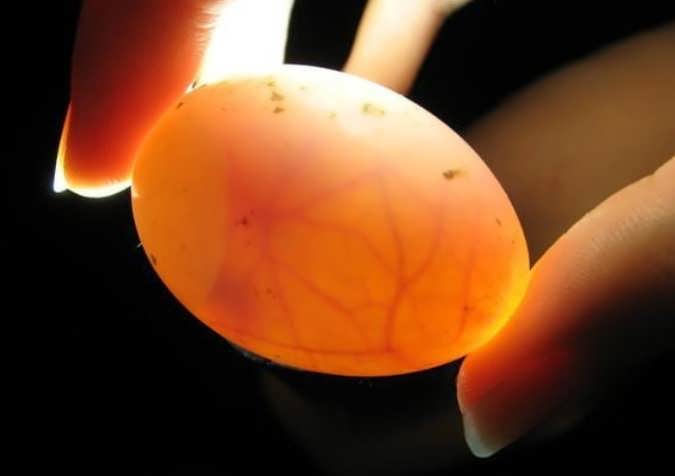
- The second viewing is carried out on the 11th day. When viewed, the egg should be at least 2/3 dark. Light, transparent eggs are removed from the incubator - they are empty and there is no point in further keeping them on heating;
- The third time is viewed on the 17-18th day. With not careful previous examinations, cuffs (transparent eggs) can be re-identified. Removing them from the incubator will make room for the chicks to hatch safely.
Inspection of goose eggs by day
When frying goose eggs of light breeds, the dates given below are used, for heavy breeds, 1 day is added.
- The first viewing is carried out on the 5th day. This is done if it was not carried out before incubation, and cracks and marbling are revealed;
- Candling is carried out on the 18th day - transparent, light eggs are removed if they were not noticed earlier;
- Third on the 28th day - cuffs are removed;
Inspection of duck eggs by day
- The sixth day can be used for viewing if candling has not been done prior to incubation. At the same time, spots and cracks are revealed;
- On the 19th day after viewing, you can also find transparent ones. But the light air chamber is very clearly visible and is separated from the embryo zone;
- The last check is skipped or carried out on the 25th day.
View of quail eggs
- The first viewing is done on the 1-2nd day. It is carried out if it was not performed before incubation. At the same time, cracks and marbling are revealed;
- The second and last viewing is carried out on the 16th day before transfer to hatching.
Candling turkey eggs by day
- The initial candling is done on the 1-2nd day. He was missed inspection before laying in the incubator. At the same time, cracks and marbling are revealed;
- The second candling is carried out on the 19th day. During this period, unfertilized eggs or those in which the embryo has died become very clearly visible. A dark egg with a light air chamber is a guide to successful incubation.
Candling of eggs of an indochka
- Initial candling is done before placing in an incubator ;
- The second candling is carried out on the 20th day. At this point, clear, light (empty) eggs are removed. During this period, a light air chamber and a developing dark embryo are clearly visible.
Candling a broiler egg
Candling of broiler eggs is no different from eggs of laying hens:
- The first procedure is carried out on the 4th day. This is done if it was not carried out before incubation. Having revealed cracks and marbling, the eggs are discarded;
- The second viewing is done on the 11th day. At the same time, everyone will distinguish unfertilized eggs from fertilized ones. The main criterion is that the egg must be 2/3 dark and have a well-defined air chamber. A light, almost transparent egg is immediately removed from the incubator ;
- The third viewing is carried out on the 18th day, also in order to identify cuffs (transparent eggs).
Many, even experienced poultry farmers, carry out only the first, pre-incubation candling. They do not bother with the following procedures. At the same time, many of them, from year to year, can boast of excellent results in the hatchability of young animals of various bird species. Egg screening is important, but the basis of hatchability is the brood flock.