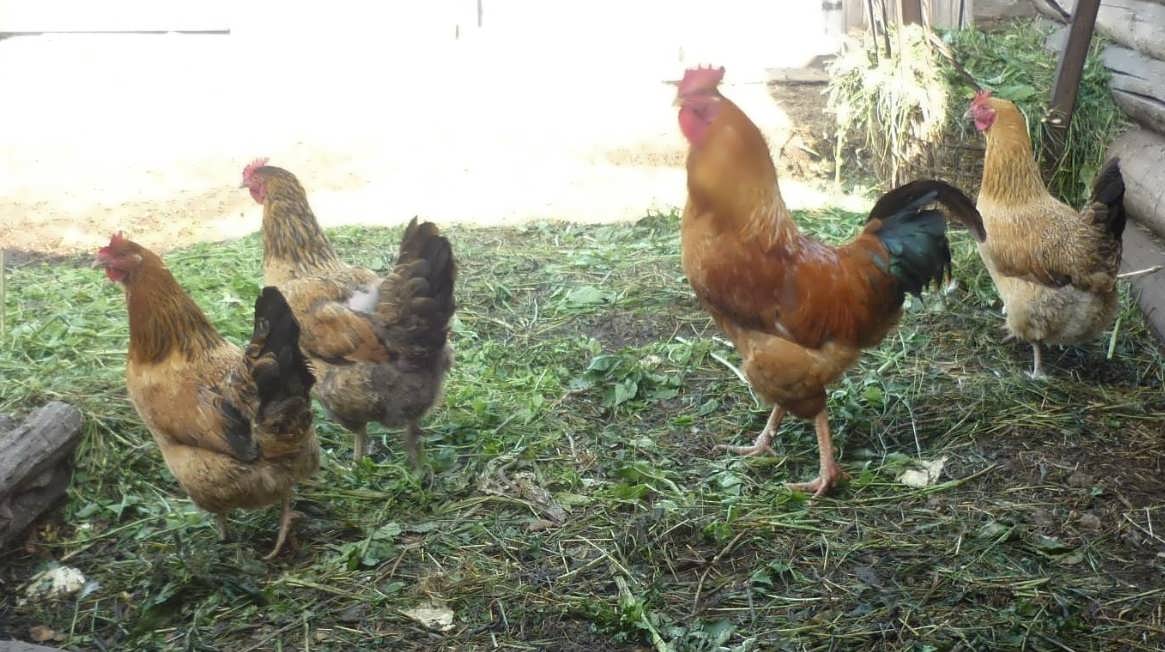
When creating comfortable conditions for laying hens, the quality and quantity of eggs increases. The efficiency of breeding and the productivity of livestock depends on how well the house is equipped.
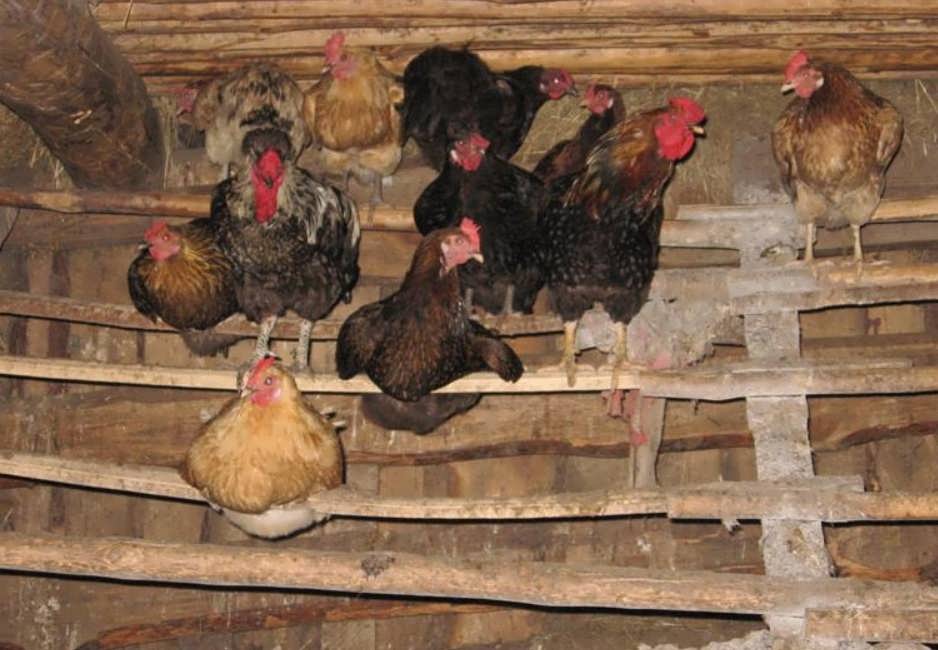
An important point in this case is the arrangement of perches, nests, feeders, drinkers and so on. In order to save money, you can make them yourself from improvised materials. It is better to use ready-made drawings, already tested, with dimensions. Make, for example, a perch for laying hens with your own hands and make sure that it is not difficult at all.
Types of perches
When choosing one or another perch design, consider the method of cleaning the litter and the size of the chicken coop. Perches are:
- Single tier. Located opposite the door and window. Size 2-2.5 m for 10 individuals. A support is made in the middle.
- Tiered. The distance between the rows is 0.5 m. Strong chickens occupy the upper "floor". Fights are possible. To prevent droppings from falling on the lower layers from above, the lower poles should protrude forward.
- Above the nests. For the same reason, the perch must be set back a sufficient distance from the wall.
- Corner. Let's say with a small livestock - up to 15 individuals, since cleaning is difficult. The option is chosen for the small size of the chicken coop. It can be both single-tier and multi-tier.
- Portable. In the form of a table with a litter tray. Suitable for temporary storage.
Any of the types of perches can be done independently.
How to make perches for laying hens with your own hands
Perches for hens are a place to rest and sleep, so all adult layers should be placed on them. The pole should be comfortable, of optimal size and correctly placed. Sitting on a perch, the bird grabs it tightly with its fingers (3 in front, 1 in the back) so as not to fall off during sleep. Therefore, select the correct diameter, a planed and rounded bar (50 x 50, 40 x 60) is considered optimal.
Equally important is the length and height of the perch from the floor. These indicators depend on the breed of chickens - the larger the bird, the longer and higher it is. The length of the perch for layers is calculated based on the number of individuals - 19-26 cm for each.
Although chickens like to sit huddled together, it is better to increase this distance so that they are not crowded and there are no fights. At the same time, an overly long bar will begin to sag under the weight of the bird. The optimal size is up to 3 m with 1-2 central props.
The height should be such that it is easy to clean the litter without interference, use pallets for convenience. For a perch, make 1-2 ladders or ladders, then the chicken will not disturb the neighbors, but will be able to calmly climb and accommodate. Laying hens should not touch the walls with their tails.
The distances of the poles are presented in the table.
| Chicken size | large | average | small |
| from the floor | 80-110 cm | 70-90 cm | 60-80 cm |
| from the wall | 45-55 cm | 35-45 cm | 25-35 cm |
| between rows | 45-50 cm | 40-45 cm | 35-40 cm |
| from floor to pallet | 50-60 cm | 40-50 cm | 35-45 cm |
Place the perch against a distant, blank wall to protect the bird from drafts and noise, make the floor without gaps and equip it with thick bedding.
Independent production of a stationary perch
The process consists of the following steps:
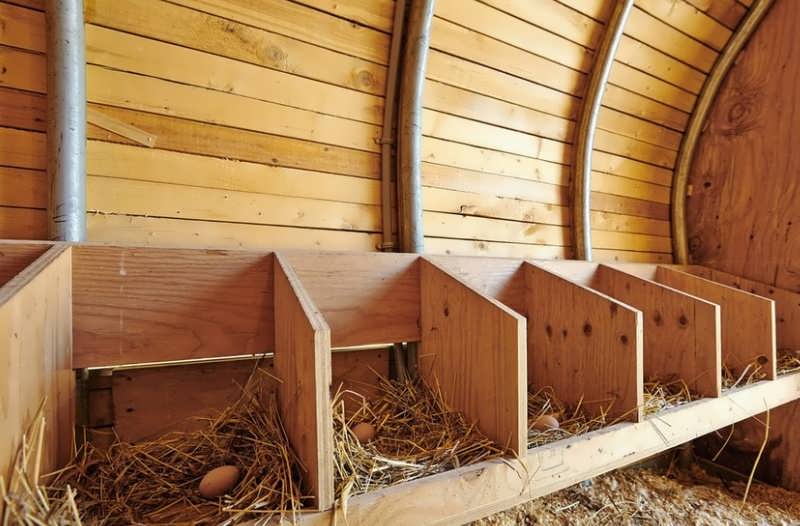
- Draw a plan of the chicken coop, indicate its size and location of the window, door, paddock door, feeder, drinker, nests, sand bath.
- Choose a place for a perch on the diagram - it should not be in a draft when air enters the chicken coop.
- Saw the bar according to the selected dimensions, round the upper edge with a planer or knife, sand it with sandpaper.
- Make two supports from the board with grooves corresponding to the size of the bar (0.3 cm wider than its bottom edge). The perch should not wobble.
- Nail the supports with nails or fix them with dowels, screws, if the walls are made of brick, block.
- Install the bar, check the horizontal level.
- Check for deflection, if necessary, place a support in the center.
Make a ladder or ladder with rungs every 20 cm and an angle of inclination of 60 degrees.
For a portable structure, take 4 crossbars - there will be a pallet on the bottom 2, and make grooves for the bar in the top 2. For supports, use a thick board.
Position a multi-level perch with a slope of 60 degrees. It requires a litter collection tray.
Removable litter trays for perching
They can be made of metal, board, plastic. With your own hands, it is easier to make litter boards of wood, but more practical - of metal. Roofing galvanized sheet is not subject to corrosion, it is light and durable. With a pallet width of 0.6 m, the length should be up to 1.2 m, otherwise the desired rigidity will be lost. The height of strictly vertical sides so that they stand close is 50-60 mm.
Instructions for the independent production of pallets from tin
The technology consists of the following steps:
- Draw a rectangle with sides, for example, 0.6 x 1.2 m, add 5 cm along the perimeter of the sides and cut it out.
- Place the template on a tin sheet, circle around the perimeter with a marker, indicate the folds.
- To cut a metal blank, use a grinder.
- At the corners, at the intersection of the applied fold lines, make cuts perpendicular to the sides.
- Bend the side boards strictly vertically, resting them on the board and helping with a mallet. Then do the same with the rear gable and bend the protruding parts onto the side boards. Make the front edge rounded so that the chickens do not hurt their paws. And when cleaning, it will be more convenient to hold it in your hands.
- Clean the edges of the boards with a grinder and a grinding disc.
Pour sawdust into finished products. If an ammonia smell appears, add some slaked lime to them. Add sawdust as you moisten. This method will allow you to clean 3-4 times a month.
